Workshop Unity
Oct 2021Today, we're going to create a little game together, using the game engine Unity! This page contains a summary of the workshop, and the files that you need to follow along.
1. Create a new project
Open Unity Hub
In "Projects", select "New"".
Pick the 2D Template.
Select a name and a folder that you can find easily. Avoid spaces and special characters like umlauts or accents.
2. Explore the interface
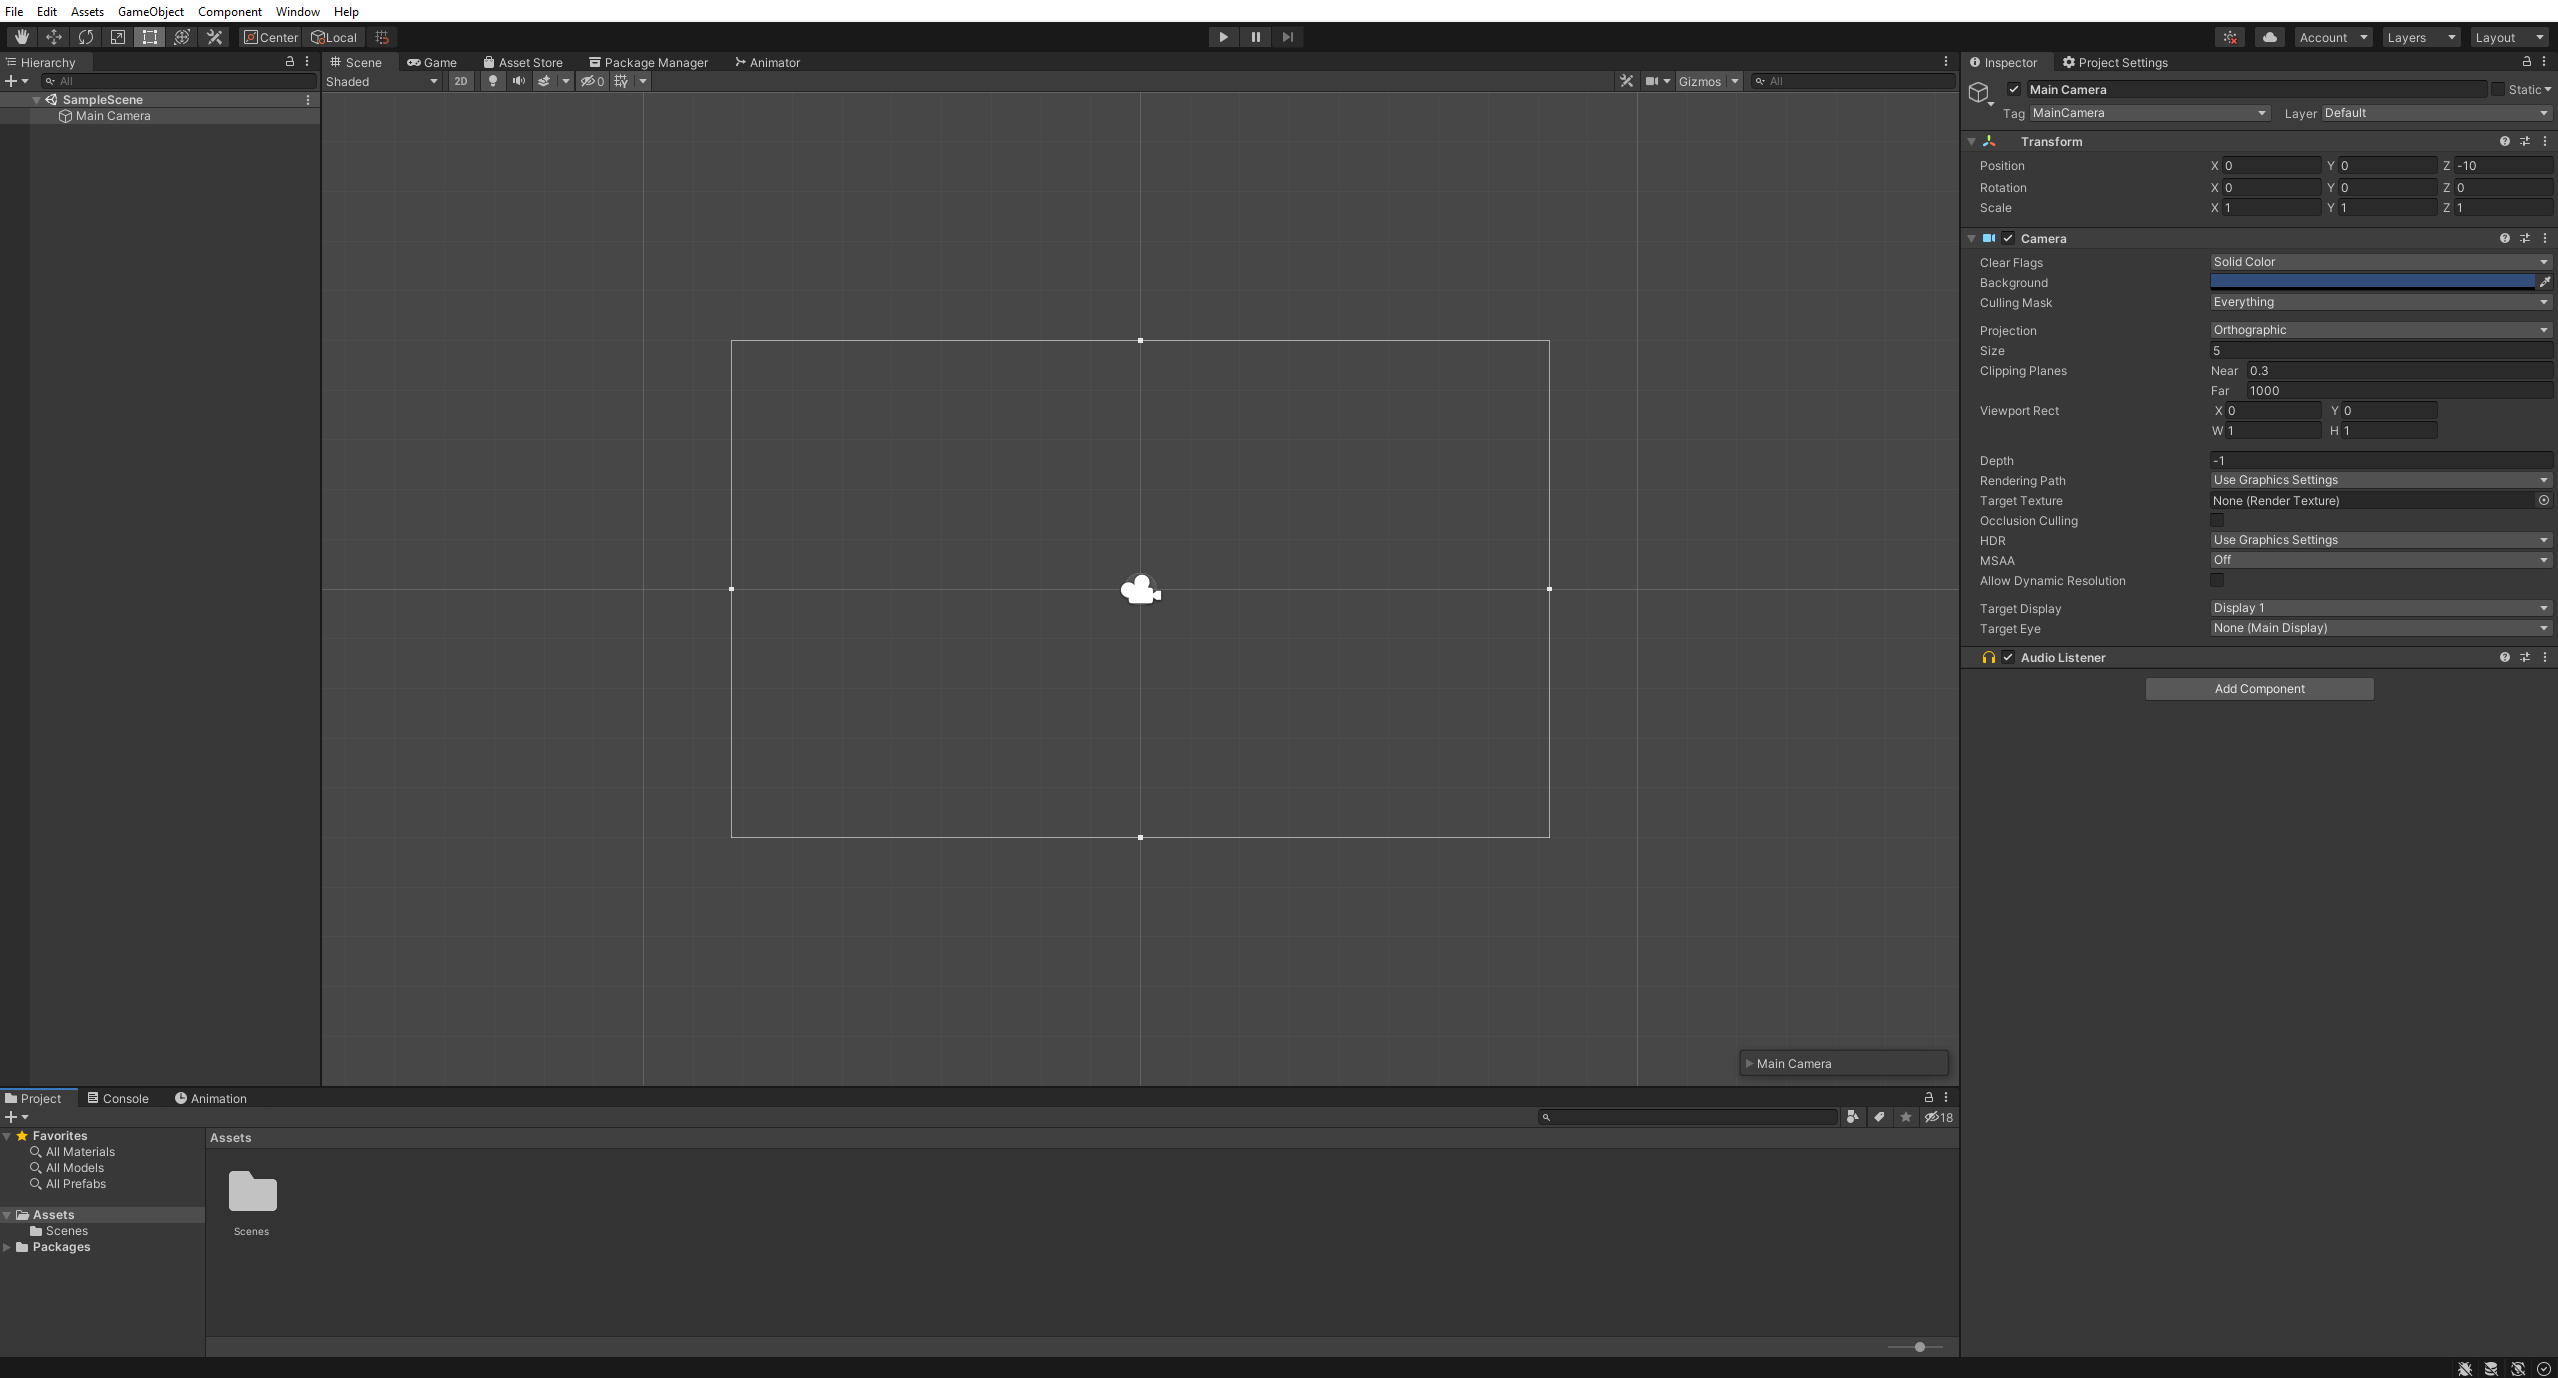
Explore the Unity Interface:
Hierarchy - Contains all the elements of your game scene. These are the elements that will actually show up in your game level.
Project - Contains all the files in your game folder, on your computer. These elements won't appear in the game unless you move them to the scene or the hierarchy.
Inspector - Contains the parameters you can change for a specific game object of your game scene. For example, you can change the position, orientation, and size of a game object.
Scene - Where you can assemble the game scene. A scene represents your game world, with your characters, items, and landscape.
Play button - Click to launch your game. Be careful, any change you make while in play mode won't be applied to your game!
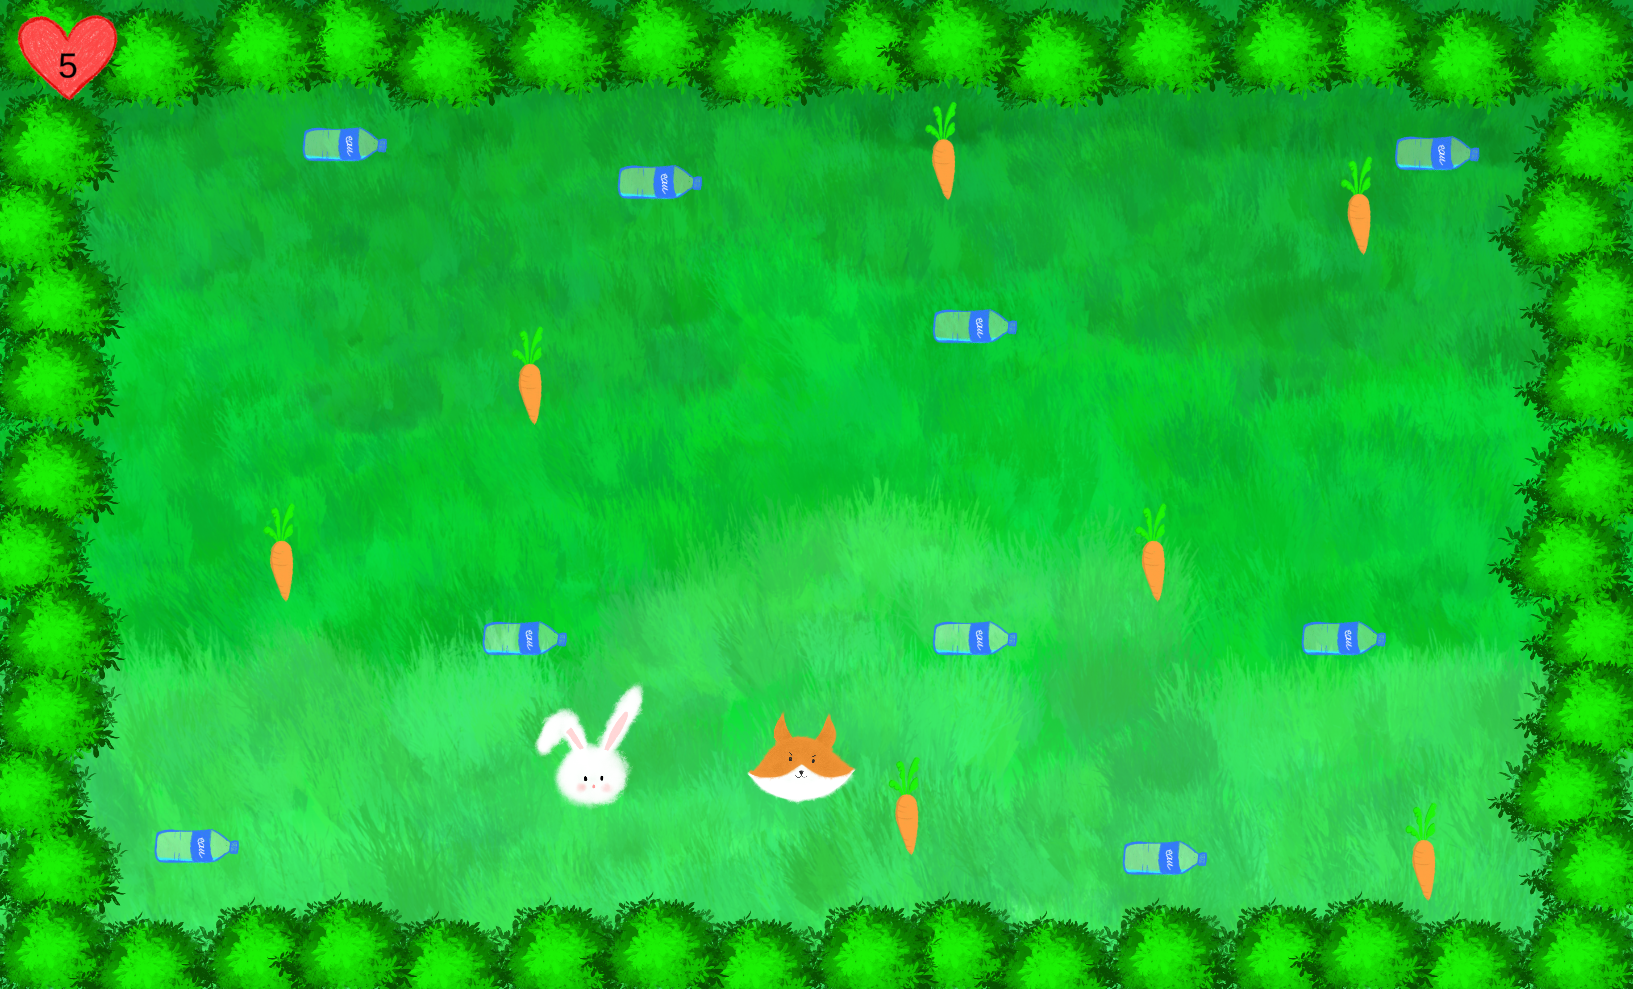
3. Add the background
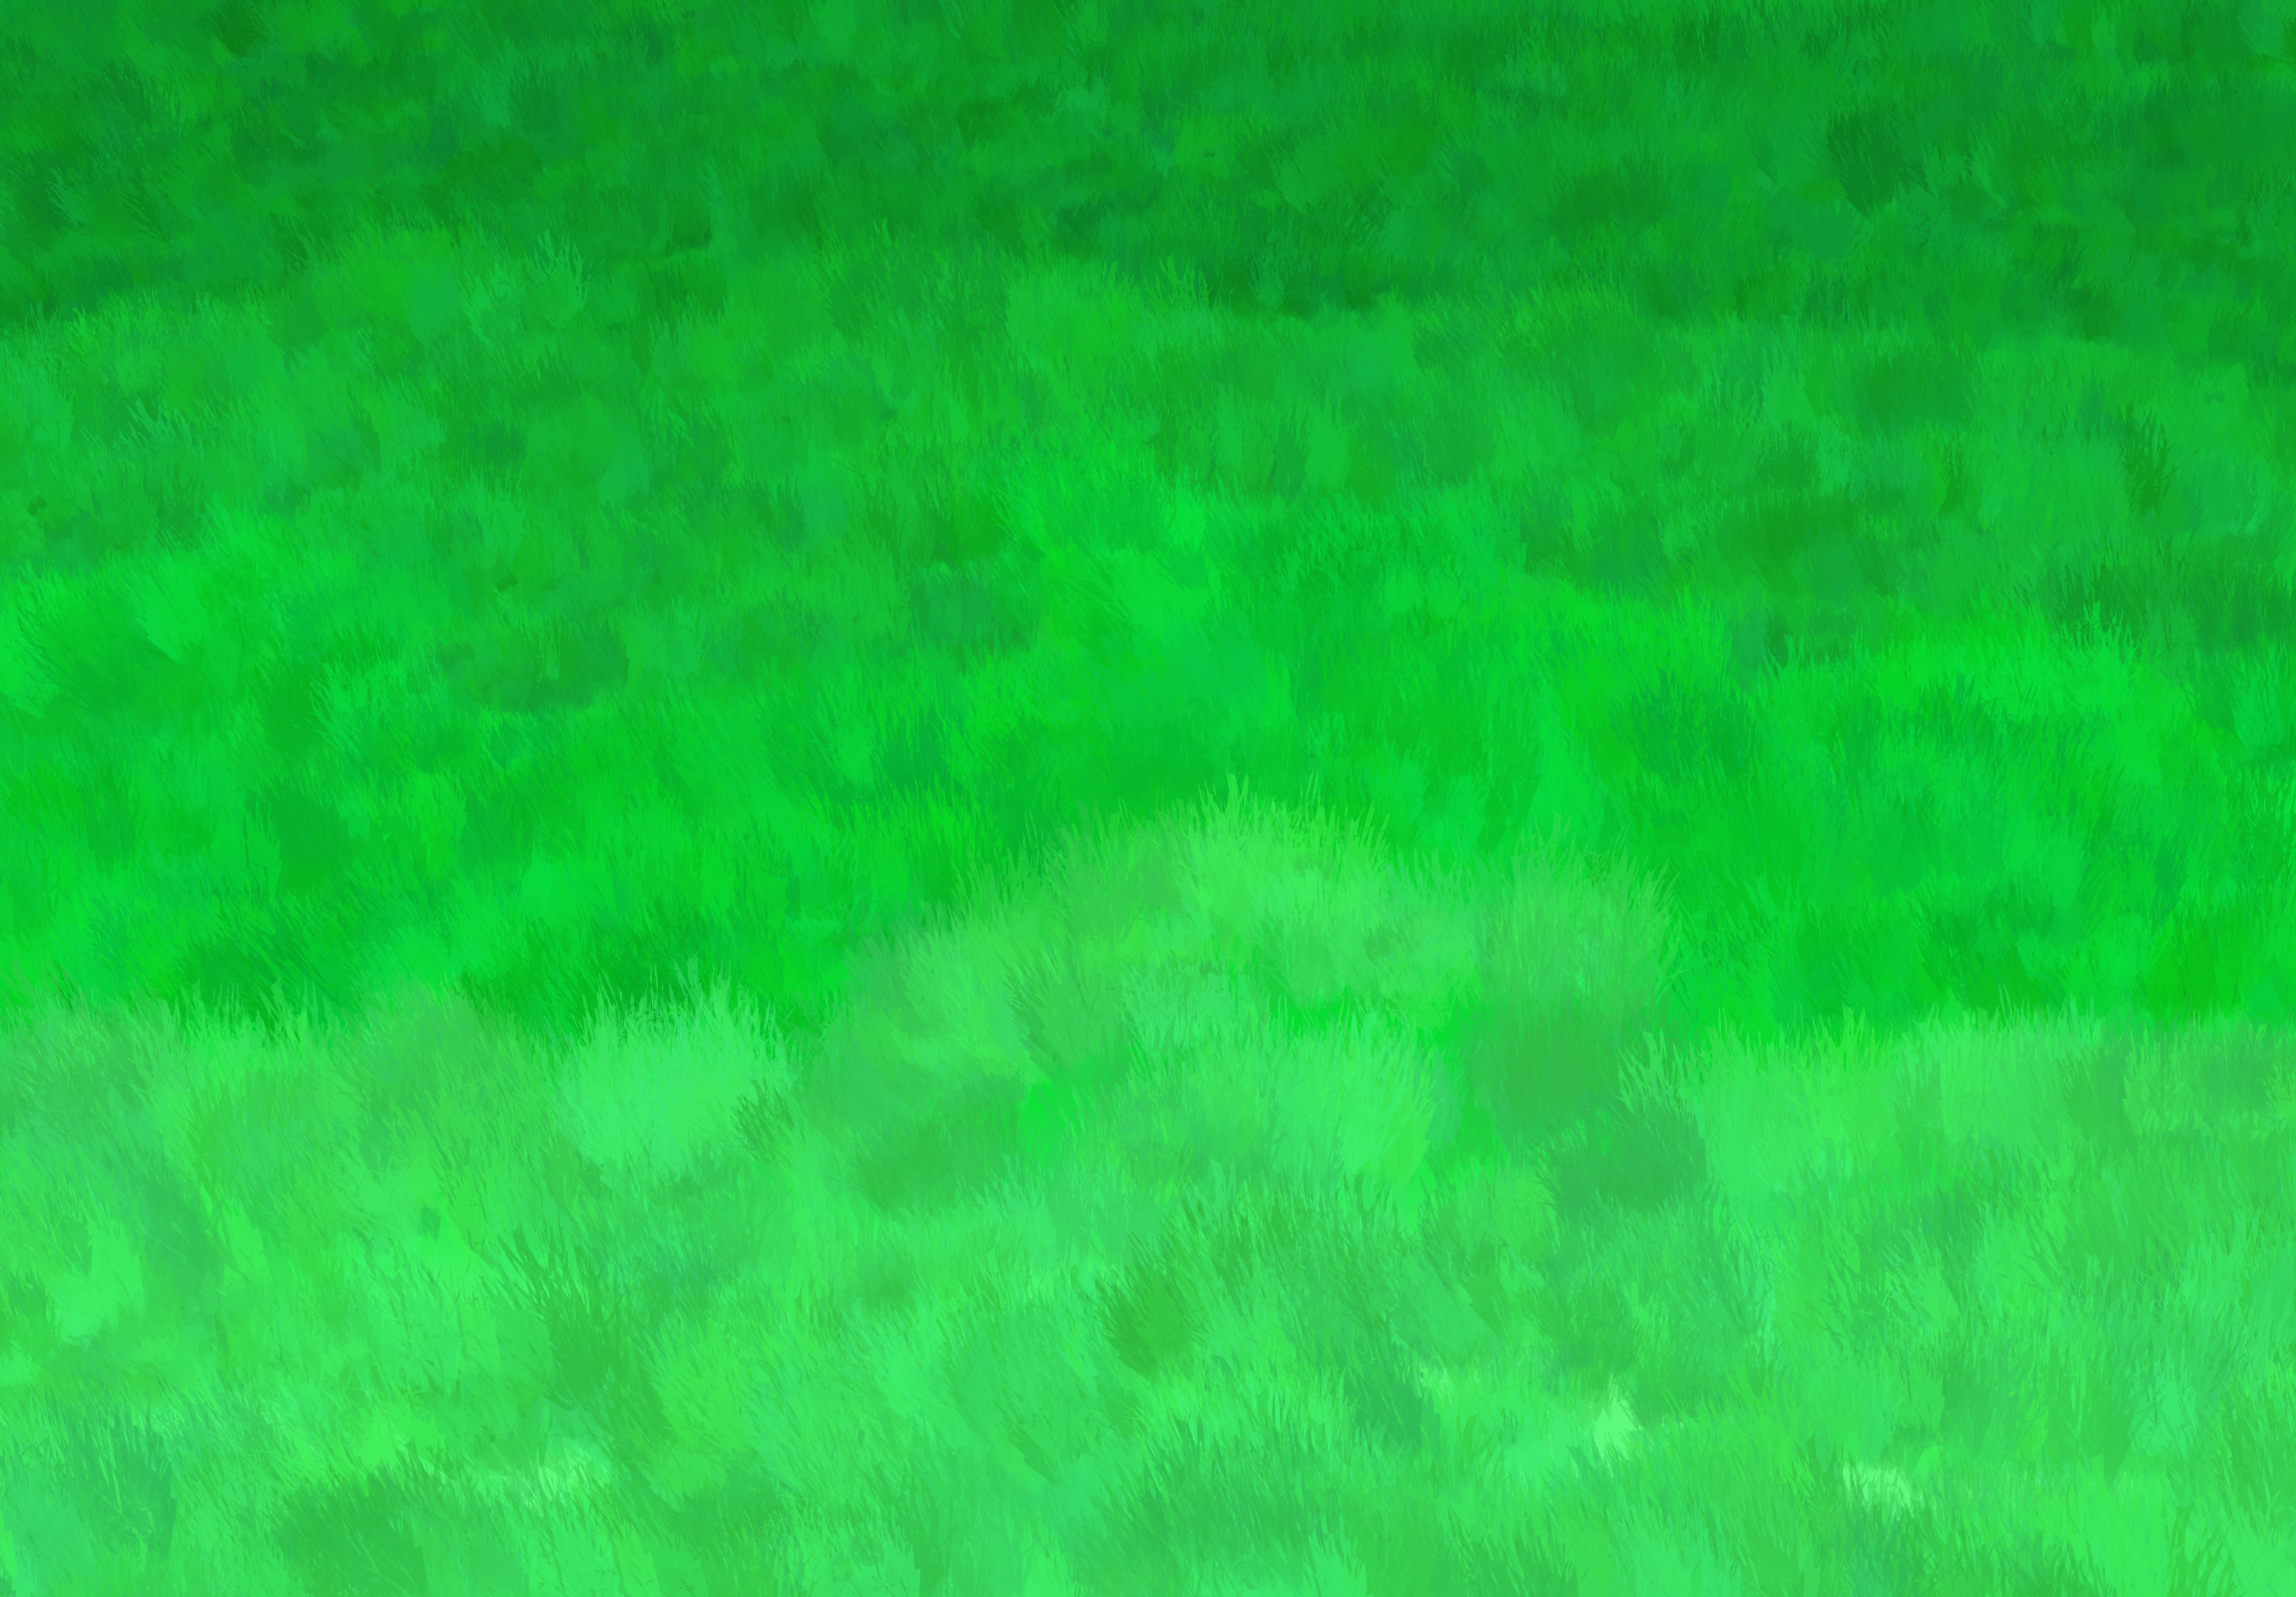
Right click on this picture, and download it in your game folder.
In Unity, from the Project panel, drag and drop the background into the scene.
You can adjust its size and position so that it is visible by the camera.
4. Add your character

Draw your own character or download this rabbit.
In Unity, from the Project panel, drag and drop the character into the scene.
You can adjust its size and position as you want.
Press ▶ and see what happens!
5. Move the character
Nothing happened! Let's make the character move.
Create a new script: right click in the project and click Create > C# script.
Name the script "Rabbit".
This script contains all the information and abilities of your character.
Add the script to your character by drag and dropping it on your character.
In the Update() function, add the following code.
float horizontal = Input.GetAxis("Horizontal");
Vector2 position = transform.position;
position.x = position.x + 0.1f * horizontal;
transform.position = position;
Press ▶ and see what happens!
6. Move the character even more
Now let's move the character vertically as well!
👉 Your turn! Complete the code to also move the character vertically
Solution:
float vertical = Input.GetAxis("Vertical");
position.y = position.y + 0.1f * vertical;
The entire Update function should now look like this:
float horizontal = Input.GetAxis("Horizontal");
Vector2 position = transform.position;
position.x = position.x + 0.1f * horizontal;
float vertical = Input.GetAxis("Vertical");
position.y = position.y + 0.1f * vertical;
transform.position = position;
Press ▶ and see what happens!
7. Add life
Let's add some life points.

Save this image in your Unity project.
In Unity, from the Project panel, drag and drop the character into the scene.
Put the heart in the top left corner.
Right click on the heart in the hierarchy, and click 3D Object > Text - TextMeshPro.
Change the position, size, and color of the text so that it fits in the heart and looks nice.
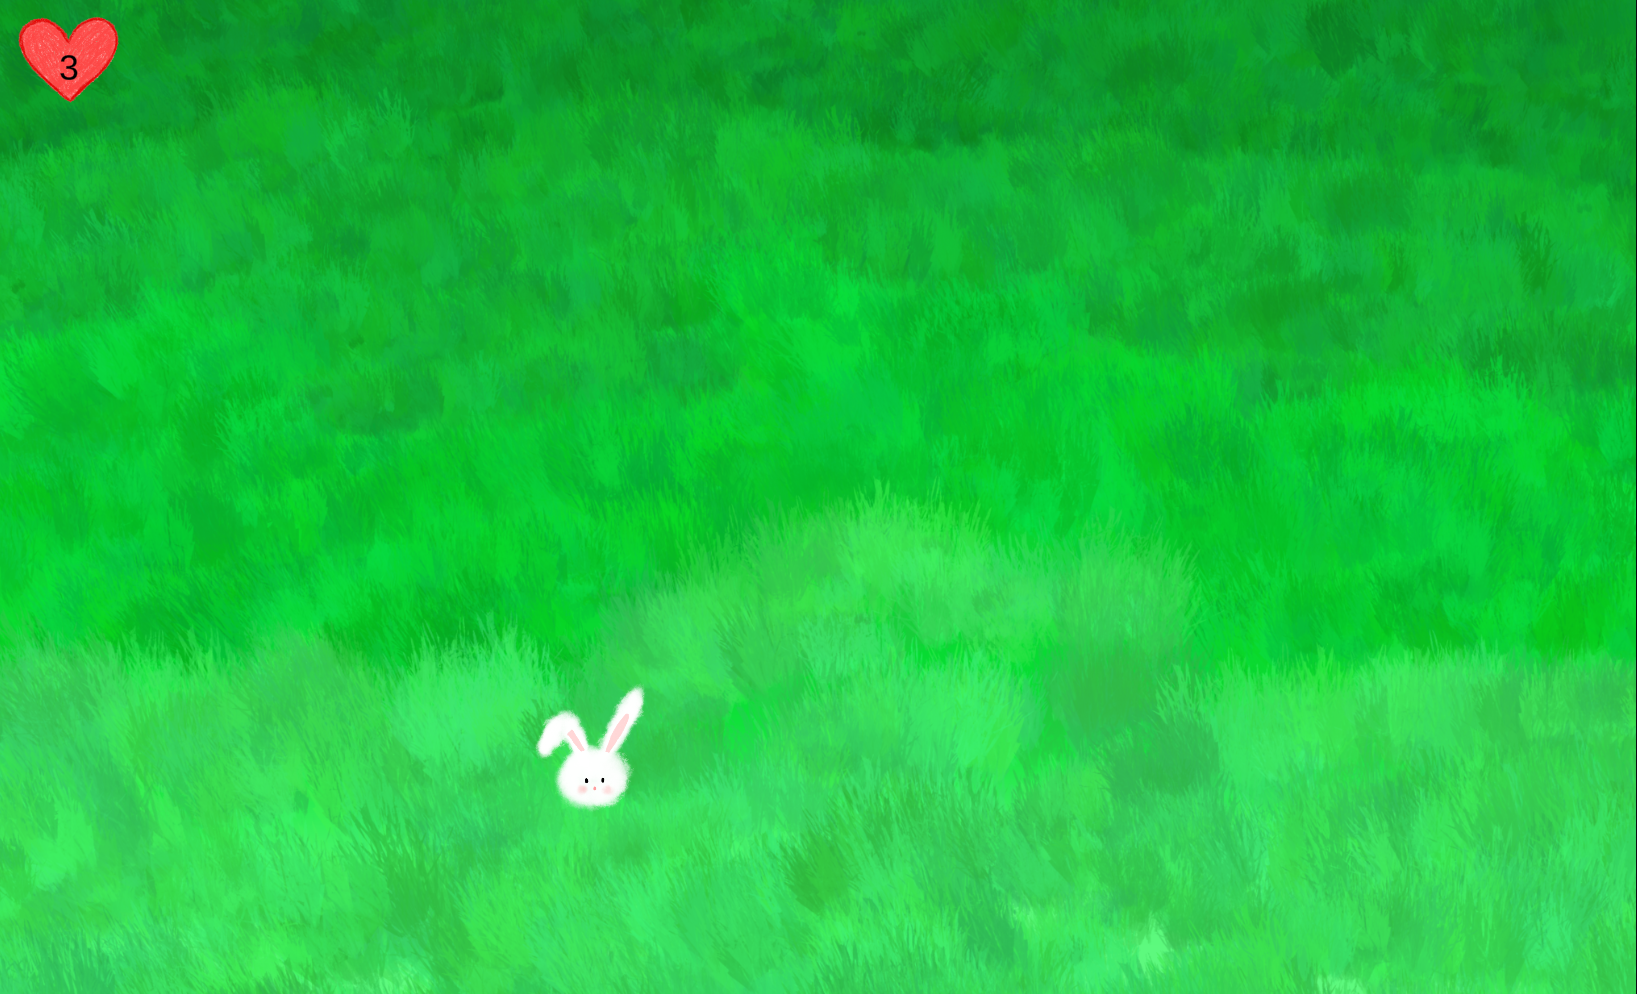
Press ▶ and see what happens!
8. Link life display to the character's life
We now would like to adjust the displayed life according to the life of our character.
In Rabbit, add a life field:
int life = 5;
and a link to the text you created:
public TMPro.TextMeshPro lifeText;
In Unity, drag and drop the life text into Rabbit.
Finally, we need to update the text according the life of the character's life.
In the Update function of Rabbit, add:
lifeText.text = life.ToString();
Add the end, Rabbit.cs should look like this:
using System.Collections;
using System.Collections.Generic;
using UnityEngine;

public class Rabbit : MonoBehaviour
{
    int life = 5;

    public TMPro.TextMeshPro lifeText;

    // Start is called before the first frame update
    void Start()
    {

    }

    // Update is called once per frame
    void Update()
    {
        float horizontal = Input.GetAxis("Horizontal");
        Vector2 position = transform.position;
        position.x = position.x + 0.1f * horizontal;
        float vertical = Input.GetAxis("Vertical");
        position.y = position.y + 0.1f * vertical;
        transform.position = position;
        lifeText.text = life.ToString();
    }
}
Press ▶ and see what happens!
9. Add carrots!
We need our character to be able to gain some life.

Draw your own item or download this picture in your Unity project.
In Rabbit, add a function to change the life of the character:
public void ChangeLife(int amount)
{
    life = Mathf.Clamp(life + amount, 0, 10);
}
We will now create a collectible item.
Drag and drop your item (carrot) into the scene.
Click on the carrot and, in the inspector, click on AddComponent > Box Collider 2D.
In the Box Collider 2D, check the box "Is Trigger". This will allow the carrot to detect collisions.
On your character (rabbit), in the inspector, click on AddComponent > Rigid Body 2D.
In the Rigid Body 2D, change "Gravity Scale" to 0, and check the box "Freeze Rotation Z".
Click on the rabbit and, in the inspector, click on AddComponent > Box Collider 2D.
We will now create the collectible script.
Create a new script: right click in the project and click Create > C# script.
Name the script "Carrot".
In the hierarchy, click on the carrot and, in the inspector, click on AddComponent > Carrot, or drag and drop it directly onto the carrot.
In this script, add the following function:
void OnTriggerEnter2D(Collider2D other)
{
    Rabbit rabbit = other.GetComponent<Rabbit>();

    if (rabbit != null)
    {
        rabbit.ChangeLife(1);
        Destroy(gameObject);
    }
}
Press ▶ and see what happens!
10. Add dangerous items
To make our game a bit more interesting, we will add dangerous items that will make the rabbit lose some life, for example, litter.

Draw your own item or download this picture in your Unity project.
👉 Your turn! Use the steps of the "Add Carrot" section so that the trash makes your rabbit lose some life.
Solution:
Instead of a Carrot, you should have created a Bottle script, including the following function:
void OnTriggerEnter2D(Collider2D other)
{
    Rabbit rabbit = other.GetComponent<Rabbit>();

    if (rabbit != null)
    {
        rabbit.ChangeLife(-1);
        Destroy(gameObject);
    }
}
Press ▶ and see what happens!
11. Close the arena
To prevent the character from escaping, we will add some walls around the scene.
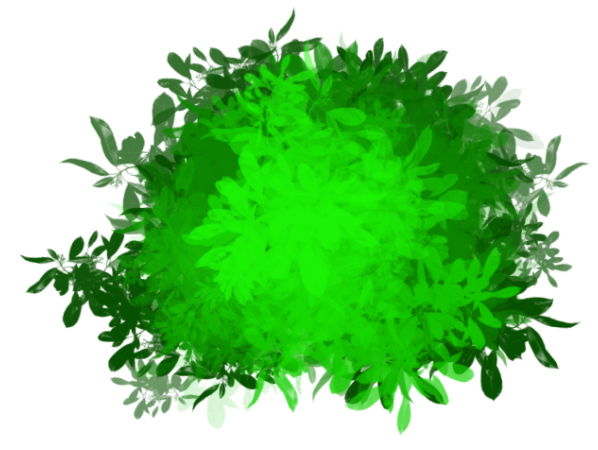
Draw your own item or download this picture in your Unity project.
Drag and drop the bush in the scene.
Add Rigid Body 2D to the bush, set Gravity Scale to 0 and Freeze Position and Rotation.
Add Box Collider 2D.
12. Add opponent
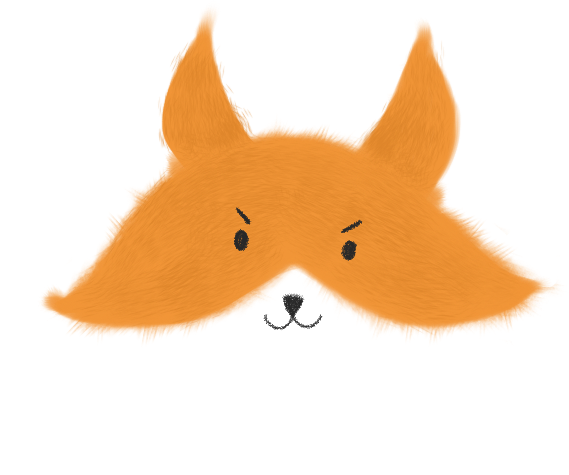
Draw your own item or download this picture in your Unity project.
We will create a script for the opponent.
Create a new script: right click in the project and click Create > C# script.
Name the script "Fox".
Add the following function to the script so that the opponent makes our character lose a life point upon collision. However, this time, the opponent should not get destroyed.
void OnCollisionEnter2D(Collision2D collision)
{
    Rabbit rabbit = collision.gameObject.GetComponent<Rabbit>();

    if (rabbit != null)
    {
        rabbit.ChangeLife(-1);
    }
}
Add a Rigid Body 2D to the opponent (with gravity scale at 0 and freeze rotation z). Also add a Box Collider 2D (without Is Trigger).
Press ▶ and see what happens!
13. Move opponent
Now let's make the opponent move!
Complete the Fox script as follows:
public class Fox : MonoBehaviour
{
    float movementX = 0.0f;
    float movementY = 0.0f;
    float duration = 2;
    float previousChange = 0;

    void Update()
    {
        if(Time.time - previousChange > duration)
        {
            previousChange = Time.time;
            movementX = Random.Range(-1.0f, 1.0f);
            movementY= Random.Range(-1.0f, 1.0f);
        }
        Vector2 position = transform.position;
        position.x = position.x + 0.05f * movementX;
        position.y = position.y + 0.05f * movementY;
        transform.position = position;
    }

    void OnCollisionEnter2D(Collision2D collision)
    {
        Rabbit rabbit = collision.gameObject.GetComponent<Rabbit>();

        if (rabbit != null)
        {
            rabbit.ChangeLife(-1);
        }
    }
}
14. Game over
We should add a game over screen when the rabbit has no life left.
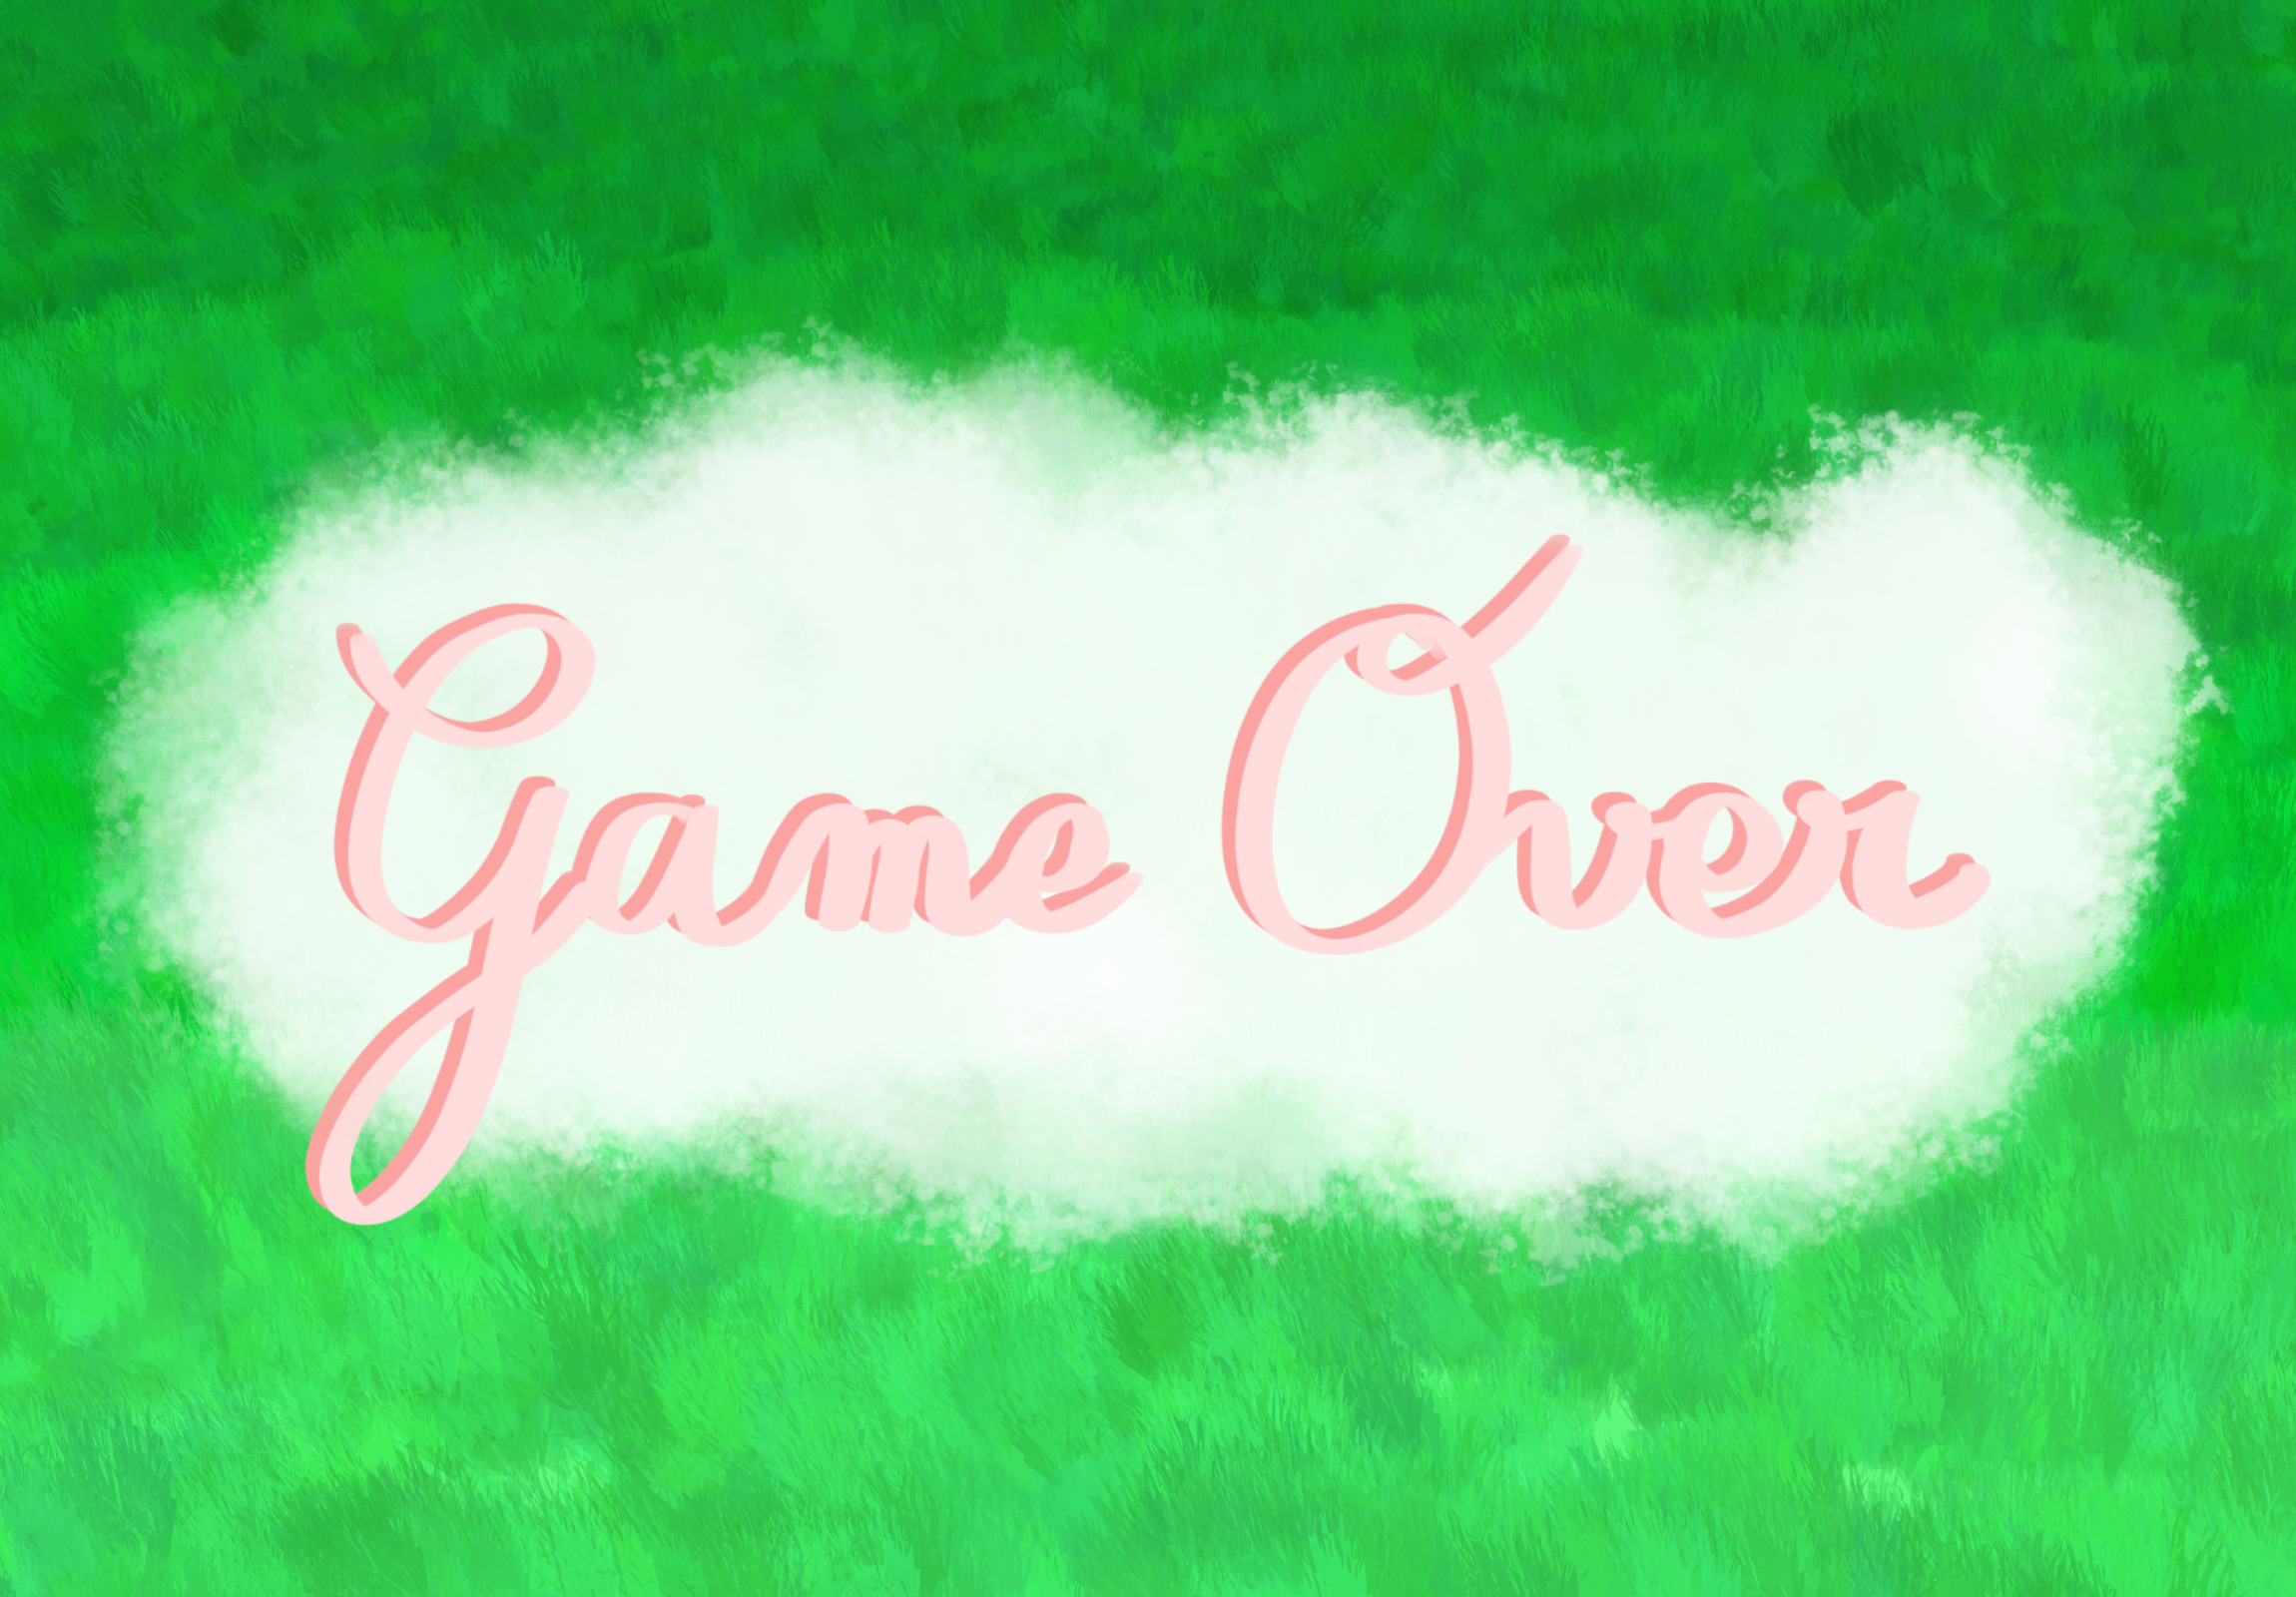
Download this image or draw your own.
Add it in the scene.
In the Rabbit script, we need to add something so that when the rabbit has no life left, we display the game over screen.
To do so, add an access to the game over screen, just after the lifeText:
public GameObject gameOverScreen;
In Unity, drag and drop the game over screen from the scene to the Game Over Screen field in the Rabbit.
In Update in the Rabbit script, add the following code:
if(life <= 0){
    gameOverScreen.SetActive(true);
}
And in Start add:
gameOverScreen.SetActive(false);
To go further
Check out other games made by students during a 1 week workshop (link)
Unity tutorial (link)
Assets for the tutorial (link)
Platform with all the Unity tutorials (link)
The Art of Game Design - Lenses (android) (iOS) (desktop)
If you want to learn more about Unity but you are not sure how to do something, you can use Google to search for some good tutorials. Unity and C# are widely use, and there are some very good ressources online. For example, if you want to learn how to do a 3D game, type "Unity tutorial 3D game", and you will find this.